Thursday, December 16, 2010

The Creamsicle Project 10

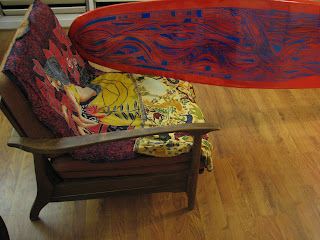
The sanding had revealed a little too much, so before I did the last gloss coat, I decided to cover up some of the whiter spots with a design.

I had a spare posca pen lying around. It was blue and I was beyond caring at that point, so I just started drawing -- or doodling really.

I was only going to do this main bit towards the center, but just kept going.

And going...

It's kind of funky, but not bad.  The funny thing is I would never buy a board with these colors.  I don't like to call attention to myself in the line-up or on the beach.  Oh well, so much for that.


I was able to get the rails just the way I wanted them.

I didn't do much measuring at all.  A lot of feeling and eyeballing it.

The real test is how it rides.

I've had it out twice now and it has exceeded my expectations.

It paddles better and gets into waves much easier than I anticipated.  The step-deck took a lot of volume out of the nose and I had to take a fair amount of width from that area as well, leaving it quite thin and narrow. You would expect that to have a big impact on paddling and getting onto the wave, but it seems to slide right on.  The board feels a little loose when you're sitting on it or paddling slowly because of the aforementioned design characteristics (and also I think from my nose rocker choice), but it is a great performer when you're actually surfing.  It is a little heavier than a regular board its size (it was heavy when I got it), but it's easy to throw around and I can almost duck dive it. When I did a little off-the-top maneuver and a big round house cutback, the board just seemed to want more. (Of course, if I could do more it would get more of a test.) I took some drops on some fairly steep waves and it handled them with ease.  Overall, I'm very happy with it.  The biggest test now will be to see how long it will stay in one piece.  If it doesn't snap in solid overhead powerful waves, I will consider it a total success.  But even if it does eventually snap again, it was a good learning experience; so, it is a success regardless.

The Creamsicle Project 9

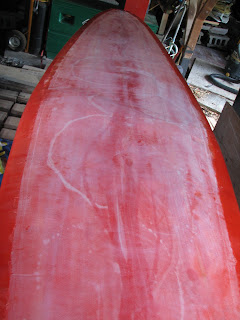
Sanded the whole board again because there were still too many uneven spots.

The part that looks like it is still glossy is actually just water drying.

This round of sanding got out of control.  I could have left a lot of imperfections and just been done with it; but, like so many times before, i thought, "I've gone this far, might as well keep going."

Even more sanding, the whole time knowing I still had a gloss coat to do...

Wednesday, December 15, 2010

The Creamsicle Project 8

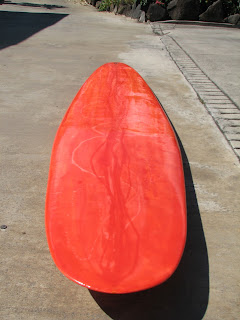
I probably should have quit at this point and called it done.

I hesitated adding too much pigment to the gloss coat because I didn't want to screw up the curing process.

Overall it looked pretty good.


Acid splash came out ok.


I didn't think the nose would come out like that.


At this point the whole board still needed to be sanded.

Changed the tail from square - well a broken square - to round.

Perfect rails. No more holes.


The pictures don't really do it justice.


Good angle to show the step-deck.


Maintained a decent amount of rocker, but slightly less than the original board.

The Creamsicle Project 7

Out of focus shot of more acid splashy experimentation.

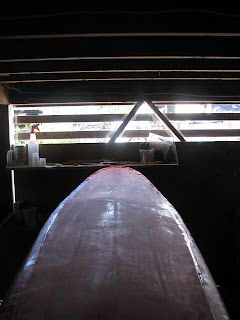
Hot coat. Notice the step deck.

Still uneven.


The Creamsicle Project 6

Now what have I gotten myself into...

More Q-cell and epoxy.


Two steps forward, one step back. Nowhere near even.

More fiberglass.


Cutlaps